


The other day as I was scrolling through TikTok {of all places}, and I came across a video of a DIY project that I instantly knew I needed in my life.
It was a simple self that fit over the top of the stove.
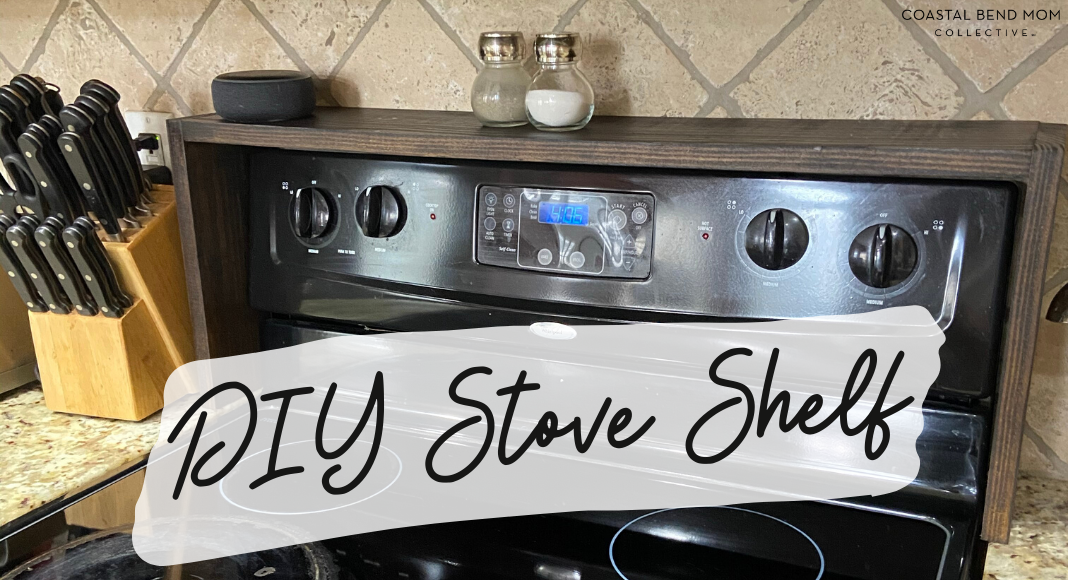
I don’t know about you, but I HATE having things just sitting out on my countertops, but things like my salt and pepper shakers can never really find a home in my kitchen that is convenient. They are either on the table and then I have to run to grab them as I cook, they are put away in a cabinet and I have to help everyone find them or they are sitting out on the counter next to the stove which drives me nuts.
This shelf has really simply solved my problem! Now they easily live in reach right above my stove along with my Alexa {for optimal singing while I cook}, out of the way but still accessible and now it looks intentional and stylized.
Since I loved how this project came out I wanted to share our process with you in case you love it as much as me!
What you need:
- a 1×6 board
- saw
- measuring tape
- screws
- wood stain {in the color of your choice}
- wood seal
How to make your DIY Stove Shelf:
First, you will measure over the top of your stove. For us, it was 30″ so that is what we cut to make the main part of our shelf.
Then you will need to measure the sides to see how long to make the sides or the “legs” of your shelf. When we measured we came up with 11″ but decided to heir on the cautious side and made each “leg” 12″. We then cut all three pieces from 1- 1×6 board.
Once the pieces are all cut you will attach the “legs” to the top. You can do this two ways. You can put two screws in on each side, or like us, you can use a Pocket Hole Jig to hide the screws underneath the top of your shelf.
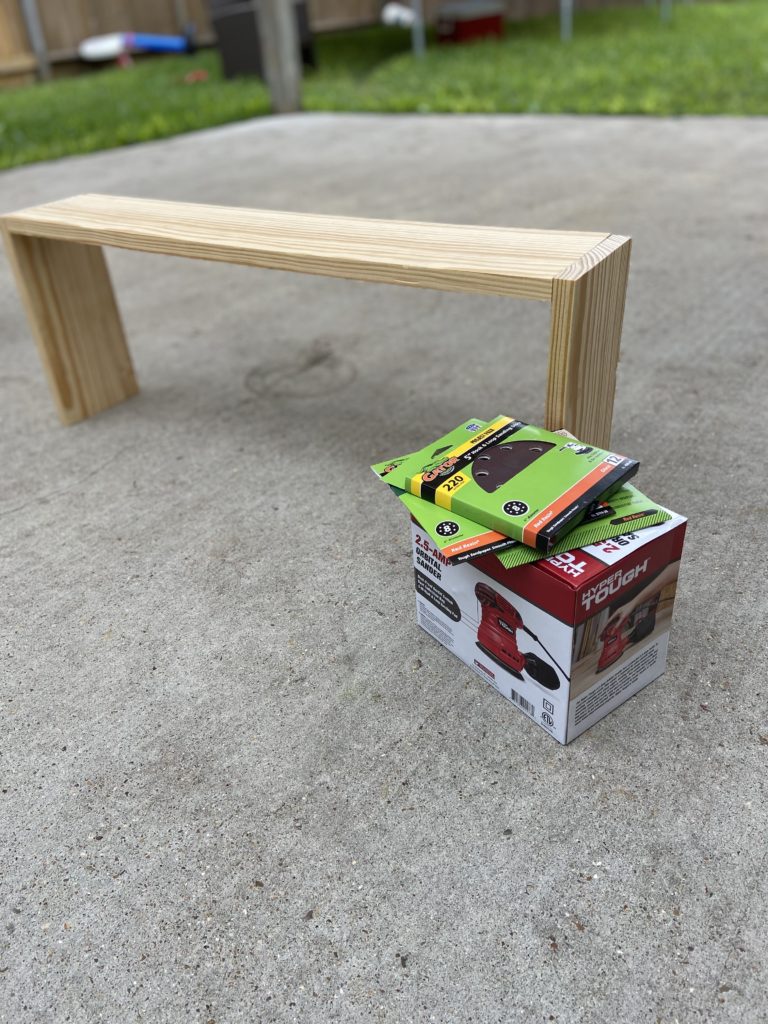
Once you have everything screwed together you will use a small hand sander and sand down all of the sides.
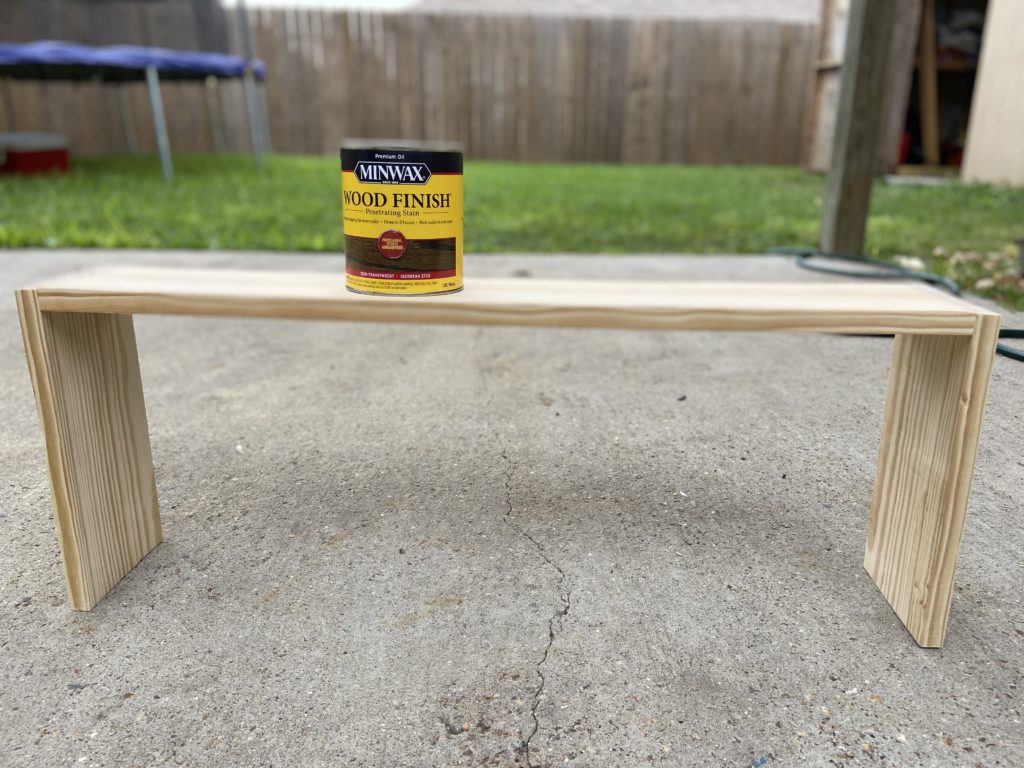
Then you will take your wood stain and stain the wood. You could choose to use paint instead of course if you have a specific color in mind. I really wanted a deep wood color to match our orange walls and the wood pieces we have in our living room. {The color I used is called Jacobean} I wish I could give you my best wood staining tips or techniques but If I am being totally honest, this was my first time ever staining and I was winging it!
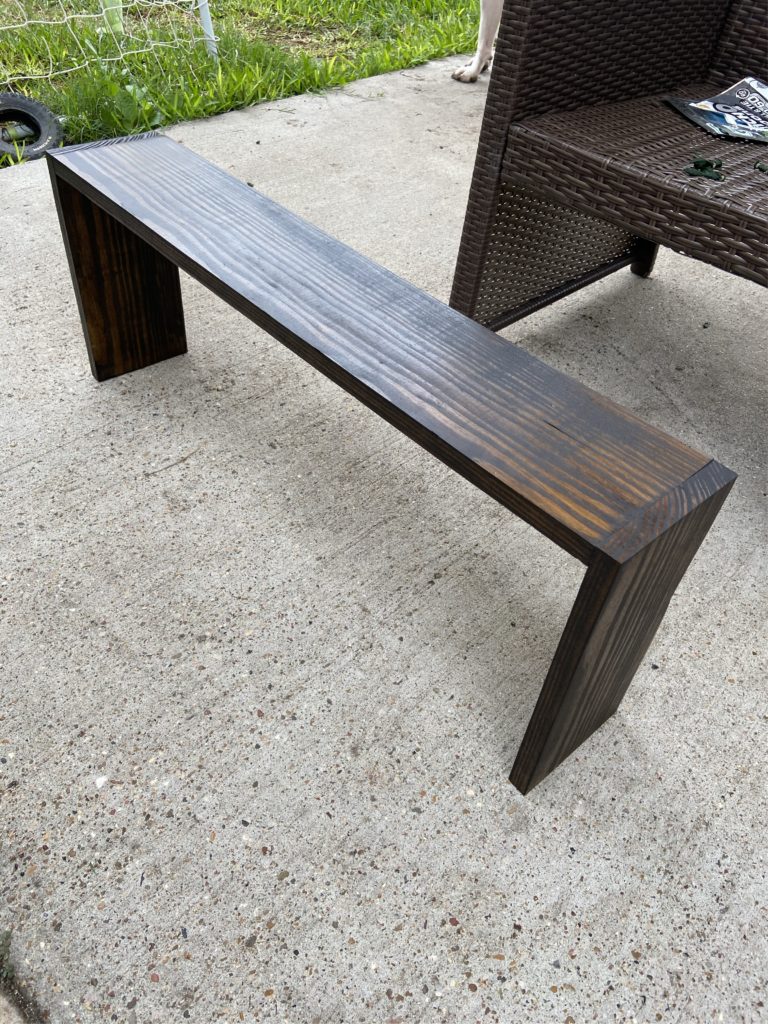
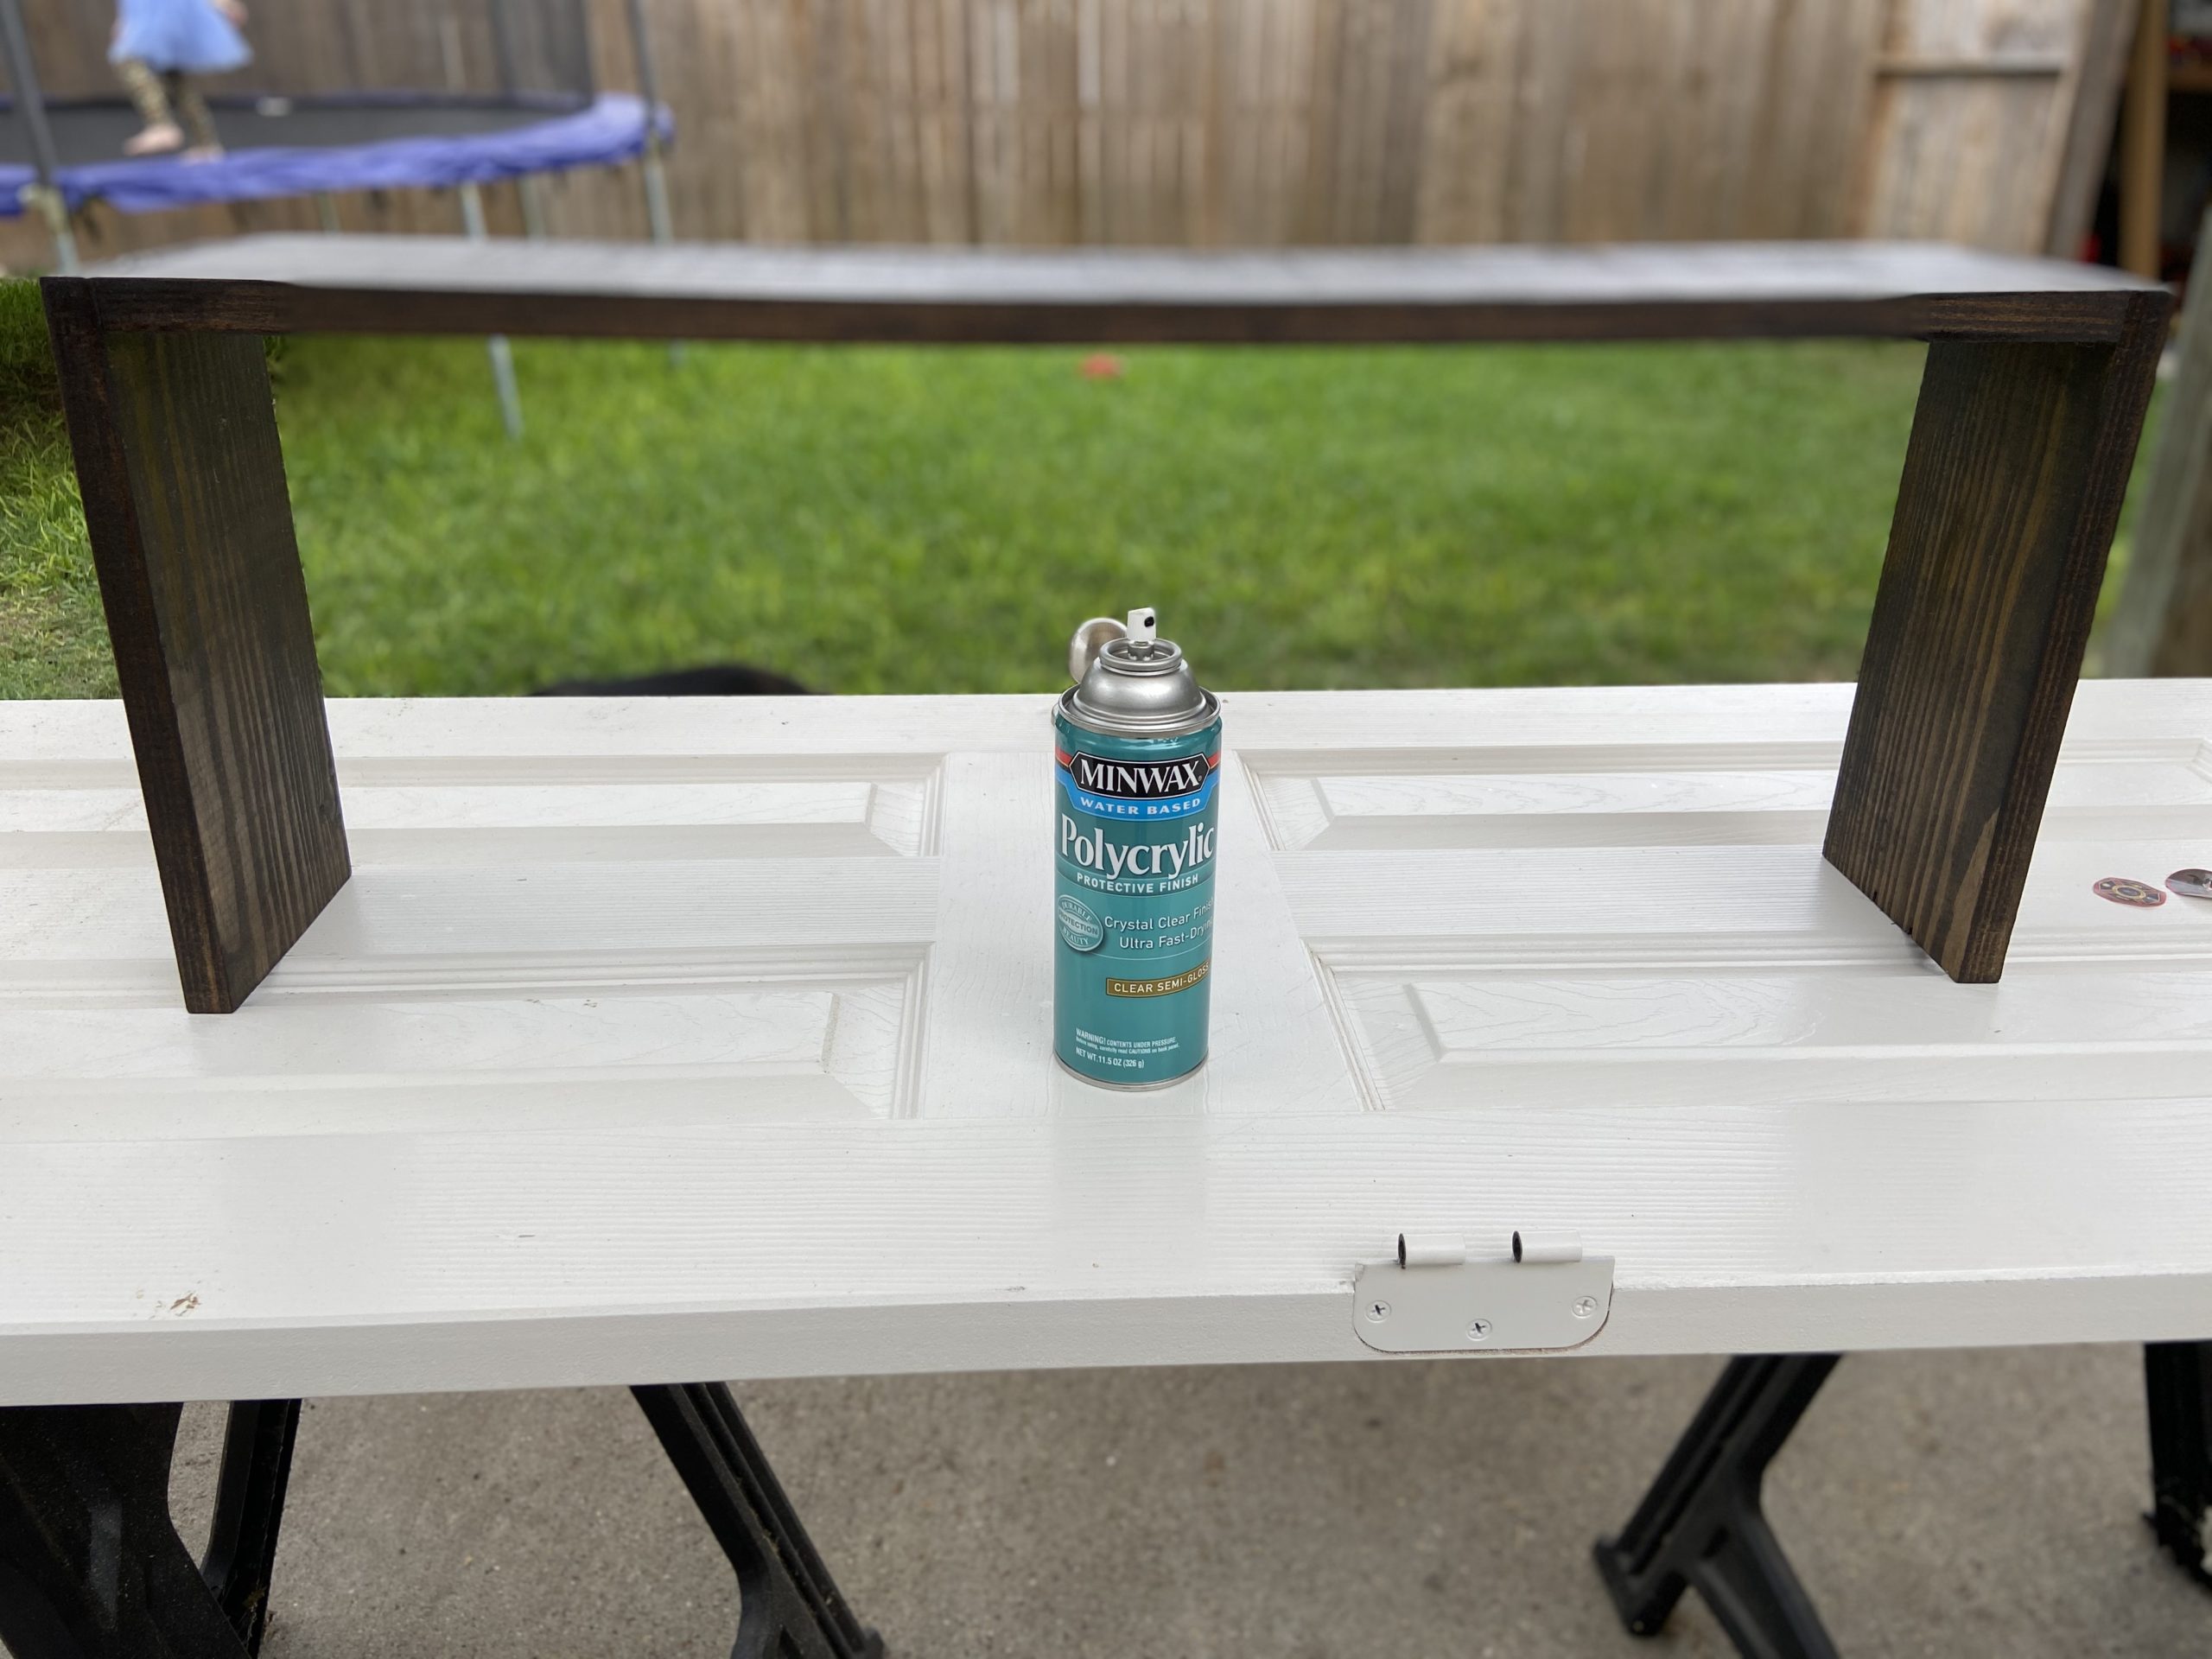
Once I was happy with the stain, I let it sit out to dry for 24 hours. Then I used a polycrylic spray to seal the wood and stain. I did three coats letting each one dry for an hour in between sprays.
Once everything was dry I was ready to use my shelf. I really love the way it came out!


